Style #2 Upgraded Chimney Cap

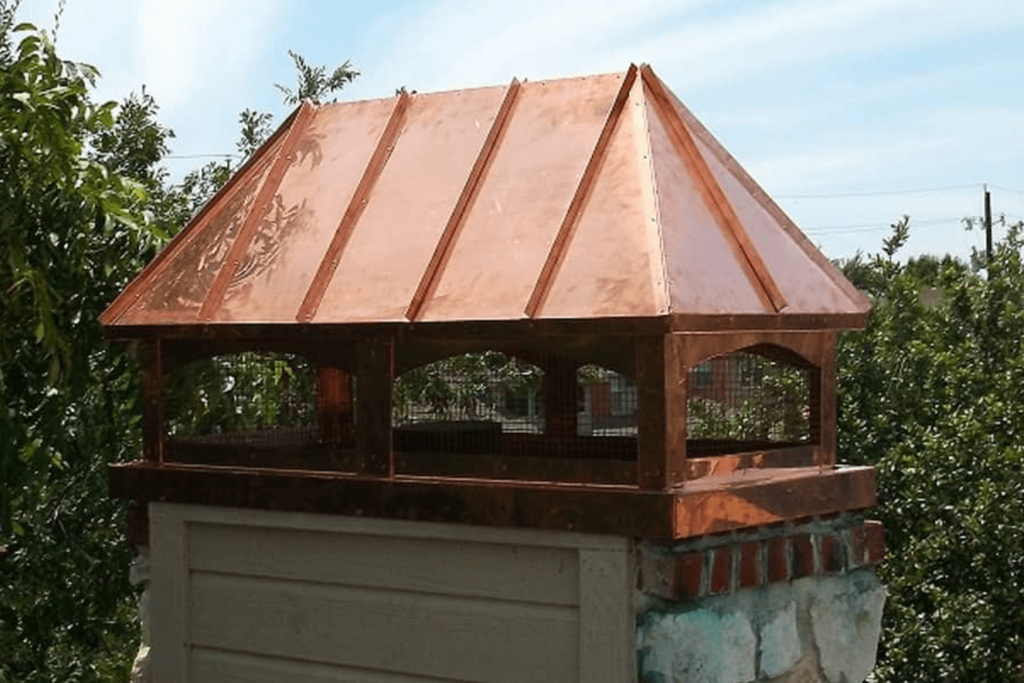
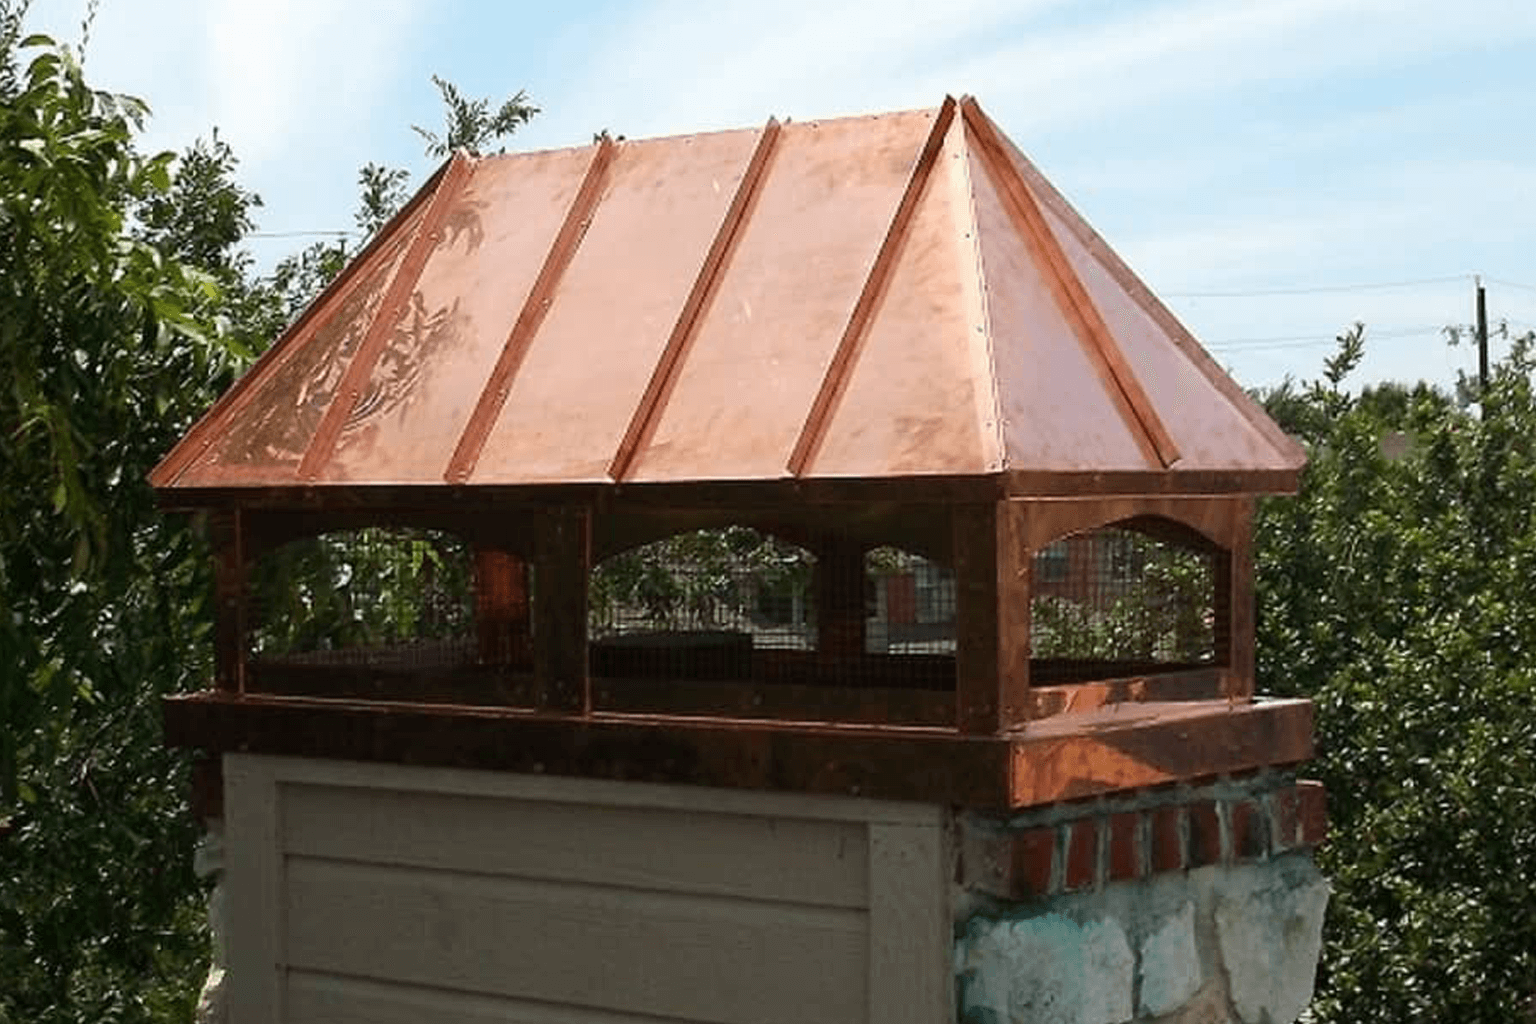
Same as Style #2 Chimney Cap but with the option of a raised lid pitch and a window cutout. This cap can be used on any chimney (wood, stucco, stone, or brick). Standing seams are for looks only. To keep out invaders the caps have 18 gauge hardware cloth under the lid.

Benefits of a Style #2 Upgraded Chimney Cap

The Style #2 Chimney Cap shares the same base as the Style #1 Chimney Cap. The lid is what makes this chimney cap. A hip roof lid with or without seams.

  • Keeps water from entering the chimney
  • Bird and animal protection
  • Full coverage protection from the sun and rain
  • Craftsmanship Lifetime Warranty
  • Our most popular chimney cap
  • Fits any chimney top

Style #2 Cap Upgraded Application

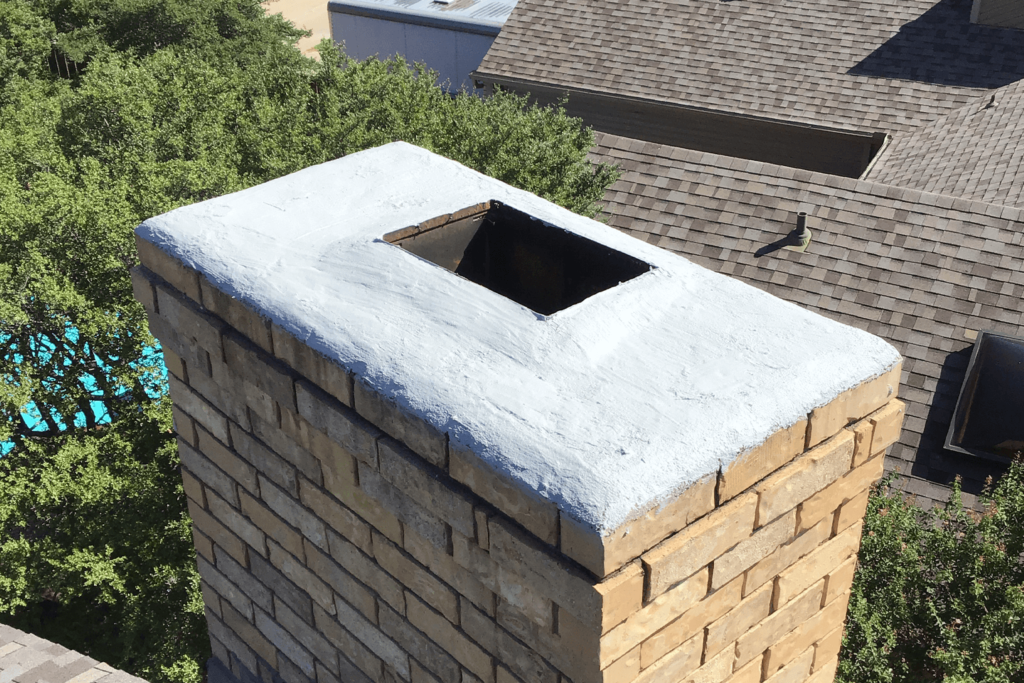
The chimney crown must be made from mortar or stone for a terra cotta, brick lined, or castable chimney flue. The key here is the crown must seal to the flue.

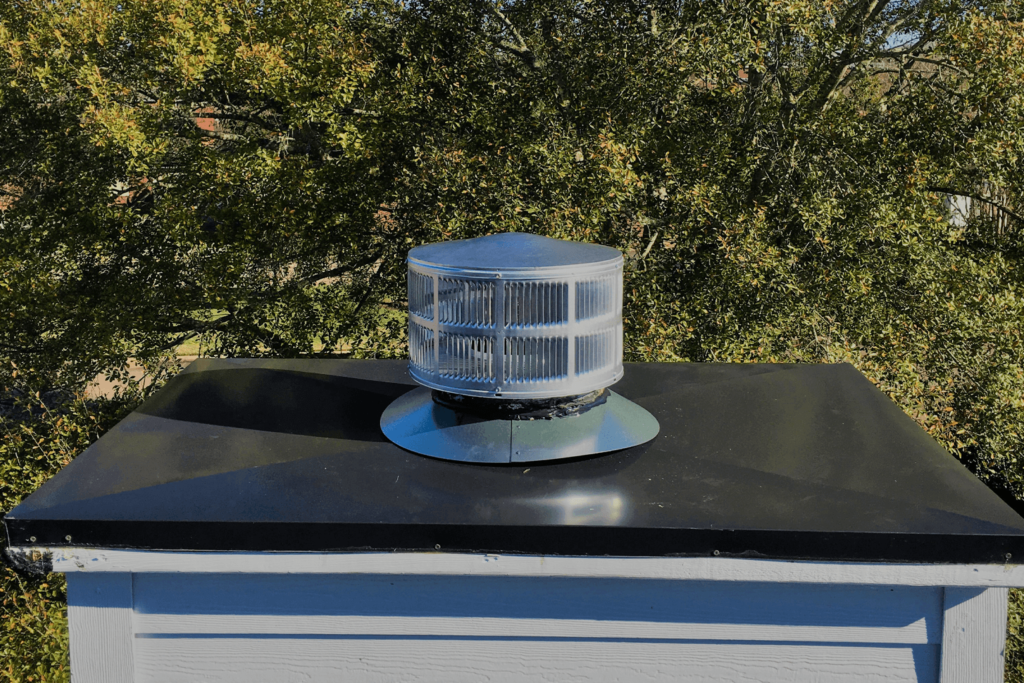
Metal pipe flues do not seal to castables and mortar. The chimney with or without a chimney cap will leak if a metal flue pipe is not metal on metal.

How We Make Chimney Caps

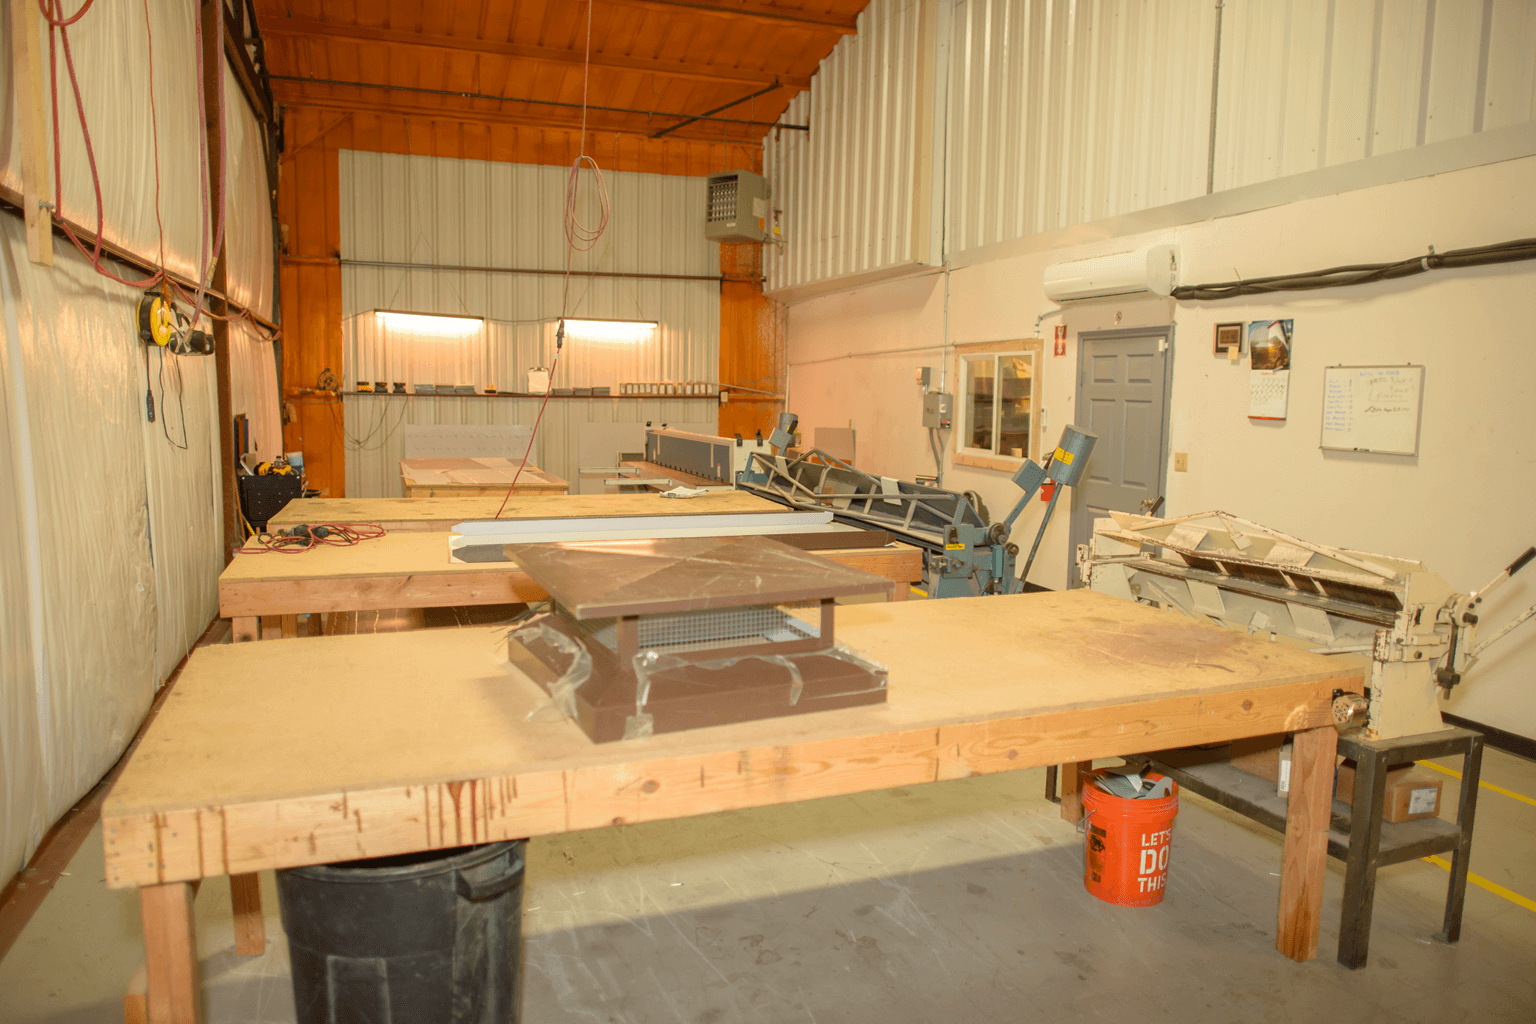
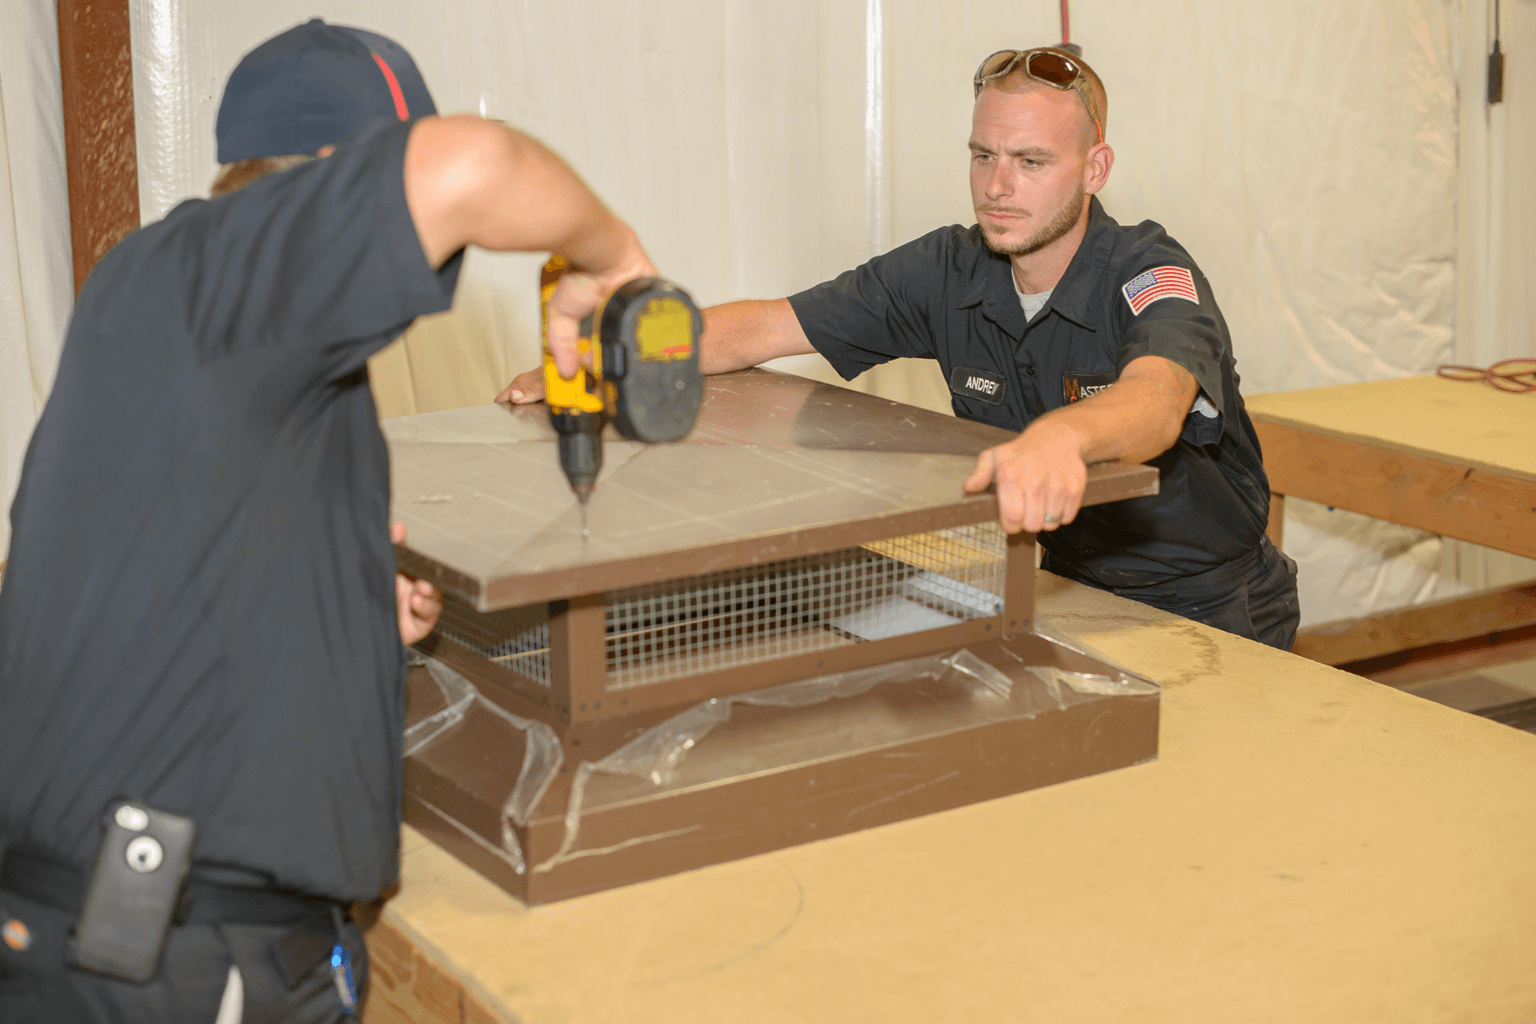
For 20 years we have made each part by hand cutting the patterns and for the long cuts we used a big electric shear.

Starting June 2016 we will begin to use a CNC plasma cutter to manufacturer all the parts of the chimney cap patterns. This is important because now we have the ability to fabricate a chimney cap base from one pattern the the screening now being cut into one pattern.

Our lead time for a chimney cap to your destination is about 2-3 weeks. We crate each cap up in a custom crate to ensure no damage is done during the shipping process. However there is nor guarantee the trucking companies do not damage the shipment. Generally the chimney caps make it not damaged. We have learned the best way to crate and its been quite a while since a cap was damaged upon its final destination.

Chimney Cap Installation Procedures

There are two methods of installation of a masonry crowned chimney cap.

PREFERRED METHOD

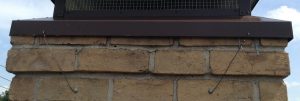
Attach wire to the base. Drill a hole in the brick or stone (not mortar) for concrete anchor down at least two rows. Wrap wire around anchor and push it in through the hole. Hammer the anchor until anchor head is flush. Cut off remaining wire left over.

ALTERNATIVE METHOD

Drill hole in cap skirt to anchor size. Put chimney cap on chimney. Drill the brick or stone where hole in cap has been drilled. Input anchor from outside the chimney cap skirt to the chimney drilled hole. Hammer anchor in securing the chimney cap to the chimney.

Only recommended if chimney is solid as a rock! If not solid the wind will vibrate the anchor out, not securing the chimney cap anymore.

Start Building Your Dream Chimney Cap Below

Fill out the information below to begin building your Chimney Cap